Educational activity based on the short film Dona Coroquinha
Find your way and move around using landmarks and representations.
Code and decode to predict, represent and carry out movements in familiar spaces.
« Understand and produce simple algorithms. »
Dona Coroquinha © Diogo Nii Cavalcanti
TitleDona Coroquinha
ThemeDetermination
Genre & keywordsComic, courage, pedestrian crossing, car, bus, traffic, animals, dog
Age (for the film)3-11 years
Duration03 min 28 s
DirectorDiogo Nii Cavalcanti
MusicDavid Convery
ProductionVancouver Film School (Canada, 2010)
Program the movement of a robot to make it cross a space strewn with obstacles.
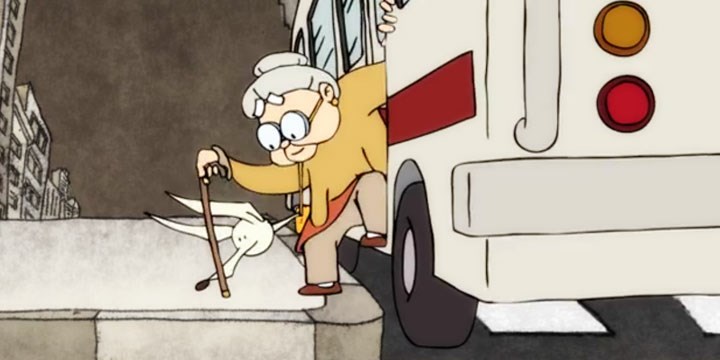
The old lady in the film, like many people around us, is particularly helpless when it comes to certain tasks that seem simple to us. « For her, getting around in the street means navigating an environment full of obstacles. » What if she had had a little help? What if she had a guide to show her the way? The latest developments in autonomous cars suggest that a robot could do this. But how can such a robot work? With modeling and programming.
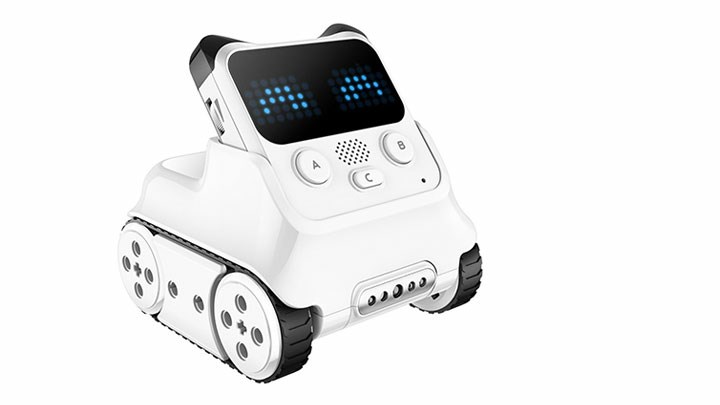
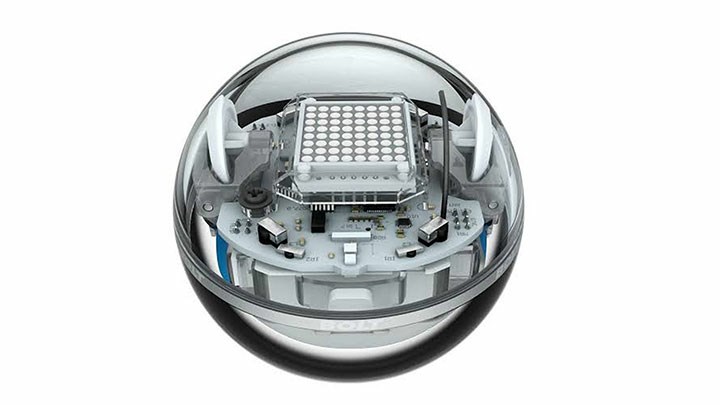
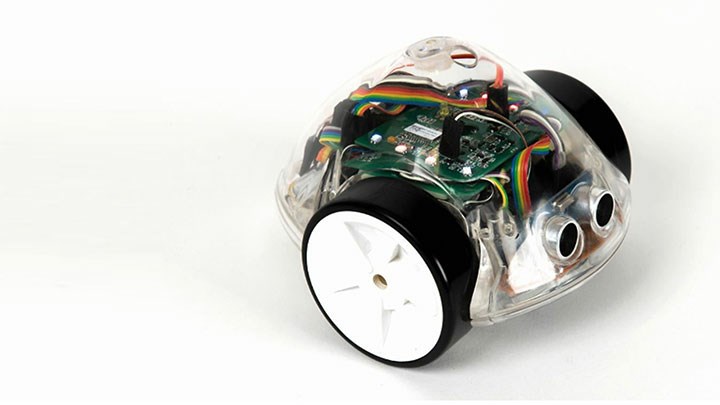
This activity aims to introduce children to « these two basic concepts of robotics » through a fun challenge inspired by the situation in the film: programming a robot to trace a path through an environment containing obstacles. « It can be done from the age of 6 », after the acquisition of movement coding skills. It is carried out in the form of a joint experiment in the classroom space, with a commercially available programmable robot kit (for example Sphero Bolt, Ino-Bot, or Codey Rockey). Note that the Ino-Bot robot was designed for the Scratch programming language.
« To keep the storyline more central » and depending on the possibilities of the robot, « we can explore in more detail how the robot can help the old lady »: it transports her on its back, it traces the path in the form of a continuous line on the ground, it sends her light or sound signals to indicate a change of direction, etc.
1. Modeling
To stay in a simple context, we chose to use static obstacles and to reduce the robot program to the execution of a fixed sequence of movements (no use of obstacle sensors, real-time behavior). In addition, it will obey “cellular” movement instructions, such as “advance x centimeters” (or “advance for x seconds”), turn right (turn 90°), turn left (turn 270°). In this way, « we stay within the representation the children have already worked with ».
We can start by clearing a large space in the classroom and placing obstacles likely to block the robot. Their mission will be to cross, avoiding obstacles, from a starting point to an arrival point, to trace the path of the old lady. The first modeling job is to apply a regular grid to the workspace. « This can be marked out with strips of tape on the floor. » From there, children can begin to practice “on paper” « finding the sequence of commands to complete the route ».
« 2. Getting to know the robot »
This involves becoming familiar with how to « move the robot forward » according to the chosen modeling. We will start with a straight move of “1 square”. Depending on the robot model and programming interface, this will involve adjusting the travel time and/or speed. Then, we will see how to make it turn left and turn right, « which may involve explaining how the circle is divided into 90° angles ».
These adjustments are made together, by asking the children for suggestions, by trying them directly and thinking about possible errors. The teacher's task is to simplify the presentation of the programming interface as much as possible so that children only have to manipulate the concepts
necessary for the exercise (and not all the functions of this interface).
« 3. Applying it to the route; optimization »
It’s time to apply what you learned from the previous steps to our robot guide! The movement instructions found by the children are entered into the interface and the robot is launched. We observe and correct in the event of an error.
We can prepare routes of increasing complexity concerning the static configuration of the terrain (dead ends, one-way corridors), or requiring new movements of the robot (greater speed to climb a bridge). This is also the time to introduce optimization questions. The case of the shortest path is formulated as follows: what is the shortest series of instructions to carry out a given complex route. If we introduce the notion of a programming loop and « arbitrarily limiting the set of available instructions », we introduce the notion of code factorization (see the Lightbot exercises).
Lightbot, an introduction to programming in the form of a game (in English, but easily understandable for everyone).
Scratch, the site dedicated to the graphic programming language for educational purposes. (Most programmable robots use scratch or an equivalent.)
Activity sheet written by: Bruno Pellier