Educational activity based on the short film Dark Dark Woods
Identify, in order to overcome them, certain cultural and artistic preconceptions and stereotypes.
Represent the surrounding world or give shape to your imagination by exploring various fields (sculpture, photography, drawing).
« Justify choices to explain the journey from initial idea to finished work. »
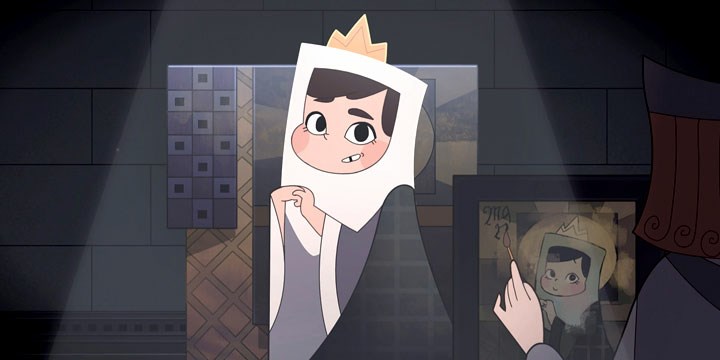
Dark Dark Woods © The Animation Workshop
TitleDark Dark Woods
ThemeFamily relationship, Princess
Genre & keywordsFantasy, parental relationship, king, queen, castle, dream, forest, animals
Age (for the film)9-11 years old
Duration07 min 44 s
DirectorEmile Gignoux
MusicK. H. Lampl & K. Lampl
ProductionThe Animation Workshop (Denmark, 2017)
An outing in the forest to make small sculptures with elements of nature.
As described in the film, the forest is the opposite of the small society of the castle. « It is the realm of the wild » (from the Latin silvaticus, “who lives in the woods”), whose threatening aspect is quickly tamed and which frees the character of the princess from the domestic rules which constrain her. It is above all a figure of the unconscious. But if the metaphor is so natural, it is because it is present in the entire substrate of myths, legends and traditions « that have surrounded the forest since the earliest times ».
Today, have scientific study and ecological issues eclipsed the mysteries attached to it? « Have the monsters been driven out? » Not so sure, seeing the fervor around recent discoveries on the “intelligence of trees” and the continued exploitation of figures from sylvan mythology in genre fiction (« to name a few television series » Jordskott, the Forest of the Missing, in 2015, or « Zone blanche, in 2017 », both referring to Twin Peaks, 1990).
In this activity, we propose to combine daydreaming around these myths with the concrete discovery of the elements of wild life in the forest. « There are three stages: »
1. In the pictures
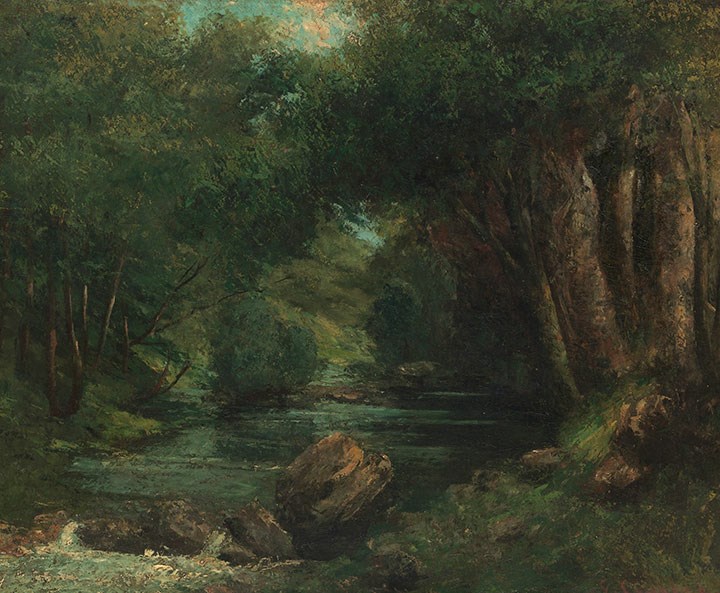
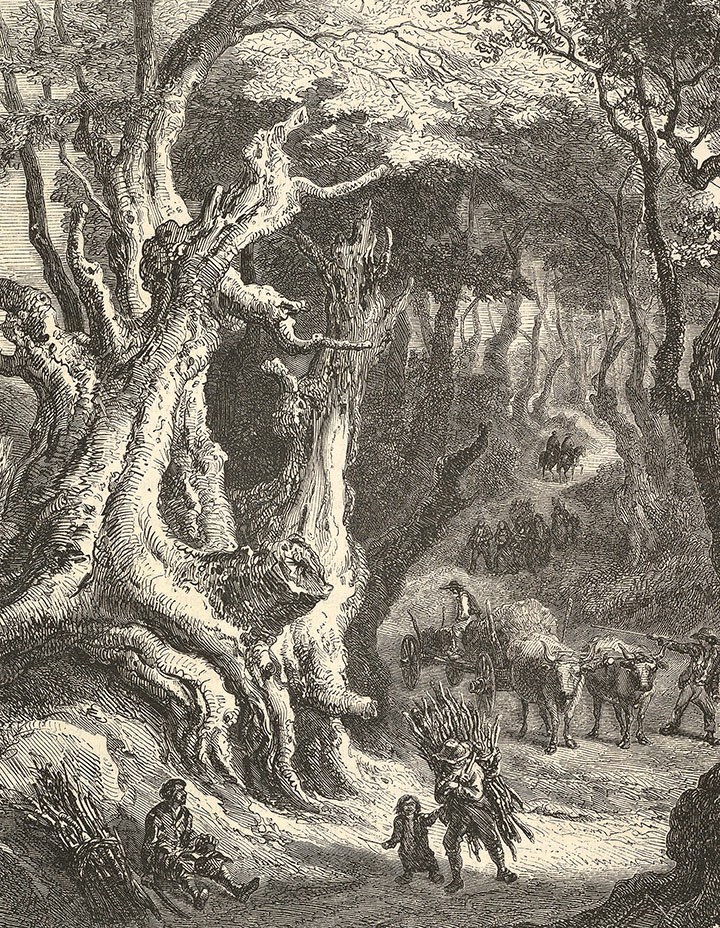
In this first stage, the aim is to immerse the children in representations of the mythical forest. After viewing Dark Dark Woods, we offer a thematic tour, which will be an opportunity to discuss images of the forest. Who lives there? How is it organized? How do you get in? Note the similarities, oppositions, etc. The references used may be entire works or only extracts.
Suggestions: « The Hobbit, by J. R. R. Tolkien (Livre de Poche Jeunesse, 2014) » – passage in Mirkwood Forest, Princess Mononoke, by Hayao Miyazaki (1997), The Brothers Grimm, by Terry Gilliam (2005), Harry Potter and the Chamber of Secrets, by J. K. Rowling (Gallimard Jeunesse, 2007) – « the passage about the acromantula colony », « Bridge to Terabithia, by Gabor Csupo (2007) », « The Secret of Kells, by Tomm Moore and Nora Twomey (2009) ».
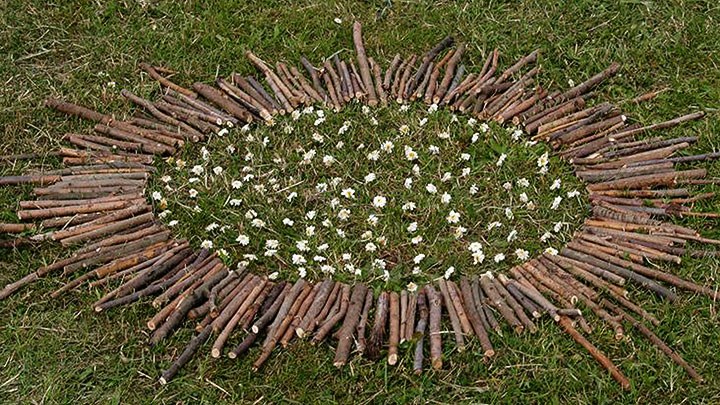
Secondly or at the same time, we present in photos or videos references to works and the approaches of some land art artists who work in or with the forest. We will endeavor to explain the practices, the concrete implementations (sampling, movements, use of the body, choice of sites, etc.) rather than the concepts of art history. The important thing is to present a range of “gestures” used to bring out images.
Suggestions: graphic installations by Nils Udo and Andy Goldsworthy, constructions by David Nash or Michael Singer, igloos and tents by Mario Merz, drawings by Markus Raetz, pollens by Wolfgang Laib, movements by Giuseppe Penone.
2. In the forest
This step consists of organizing an outing in the forest during which the children will have to collect natural materials, choose a location and create sculptures or installations imagined on site. The only instructions are to be inspired by a myth or a story linked to the forest and not to disrupt natural life too much. But children can go so far as to move, arrange a place (as in Waldputz, by Michael Sailstorfer, where the artist meticulously cleaned the leaves to
expose the earth on a square of approximately 5m on each side). The teacher can offer tools for small jobs (scissors, shovels, wire). At the end of the session, each student’s sculpture is photographed in place.
« 3. Back in class »
The third step consists of collecting photos of the creations in class and asking each child to write a short text or make drawings to explain the idea of their sculpture. This explanation can be the initial project, or an a posteriori elaboration from the photo, an interpretation of the images studied in step 1, « as long as some explanatory link is preserved ». This works like a “caption” of the photo, the whole being composed on a panel. All panels will then be displayed for the class or a wider audience.
Activity sheet written by: Bruno Pellier