Educational activity based on the short film Pigeon pilfer
Observe the effects produced by one's own gestures and by the tools used.
Use a variety of tools, including digital ones, to create images.
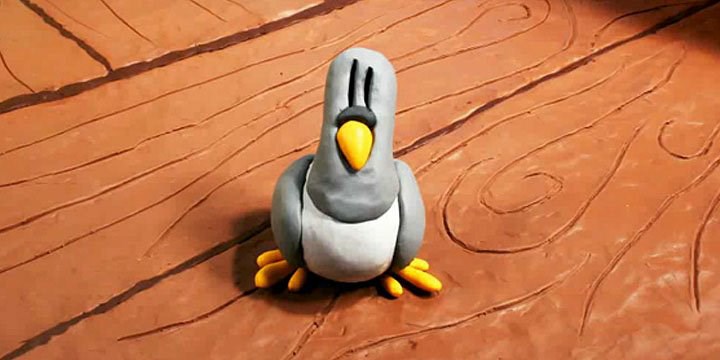
Pigeon pilfer © San Francisco State University
TitlePigeon pilfer
ThemeAnimals
Genre & keywordsComic, pigeon
Age (for the film)3-11 years
Duration01 min 36 s
DirectorMichael Stevenson
MusicP. Piratka & D. Mechlinski
ProductionSan Francisco State University (United States, 2008)
Represent the surrounding world and give shape to your imagination.
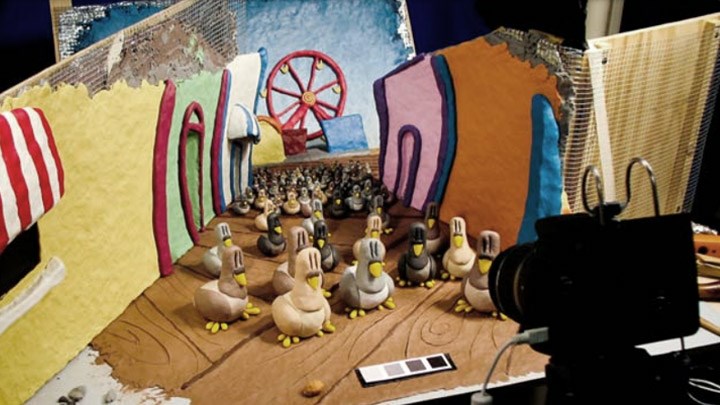
Following the viewing, students will be asked to talk about the materials used in the short film. (here, no drawing but modeling clay).
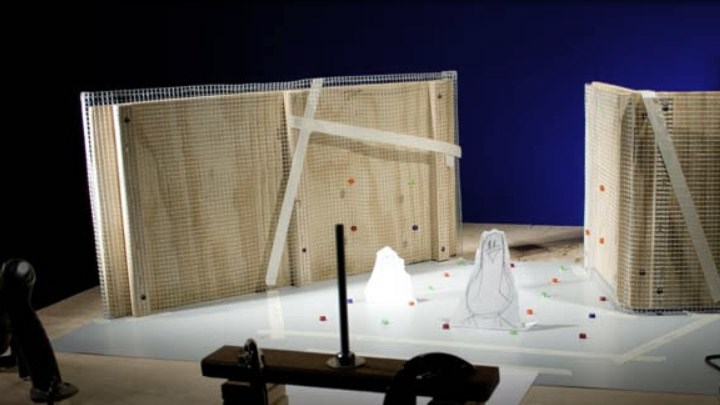
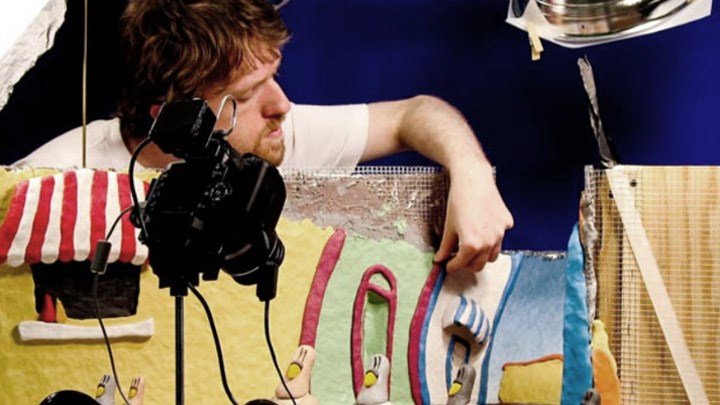
The teacher will then ask the students about the animation technique used. How do we animate the modeling clay and give the illusion of movement? What is this technique called? The illusion of movement is not achieved with a video camera but with a still camera. The principle is to take photos one after the other and transform the objects between each shot. Photos placed end to end and viewed at the pace of a film give the illusion of movement. This technique is called stop motion (in French, "image par image").
Following this collective conversation and the explanations, the students will be invited, in small groups, to create a character and animate it using the stop-motion technique.
Steps to experiment with the stop motion technique.
1- Manufacture of the object to be animated This can be a very simple shape such as a paper cube, a plasticine ball or a more complex shape such as a character with joints (puppet, plasticine character, etc.). The students will therefore choose, first of all, the materials to make an object or a character (modeling clay, paper, drawing, various objects, threads, cardboard, etc.).
2- Scenario Before the animation phase, the students will imagine a simple and silent scenario lasting a few seconds. The scenario will be formulated orally then in writing. For example, my animation will consist of rolling a ball, my animation will consist of making a paper bird flap its wings... Be careful! This step is very important because it allows you to set an objective to achieve, without which the students would be disoriented during the animation phase.
3- Animation and photographic shooting The technique consists of slightly moving or transforming your object or character between each shot. The photographs, placed end to end, create the illusion of movement.
Photographs can be taken with a camera connected to a computer and stop motion software or with a smartphone/tablet application. Several software programs are available. Dragonframe, available on Mac and Windows, is easy to use. However, the teacher will have to carry out tests before using it with students. There are also plenty of apps. The Stop Motion Studio, application available on App Store and Google Play, is intuitive and perfect for a first stop motion experience; It allows you to take photos, view them and integrates certain editing tools such as deleting a photo, adding a soundtrack, etc.
4- Viewing the animation Viewing is done simultaneously with the animation and the shooting. Following a few photographic shots, viewing allows you to check the animation,
delete then retake a photo if you want to change your animation (for example in the case where you have moved your character too much and the animation appears jerky, not smooth enough, or in the case where you have not moved your character enough to create the illusion of movement).
5- Soundtrack Why not offer, as a second step, to add voices or music to the films produced. The software and applications mentioned above will easily allow this.
Activity sheet written by: Dgedie. Discover the blog L’école des Juliettes...